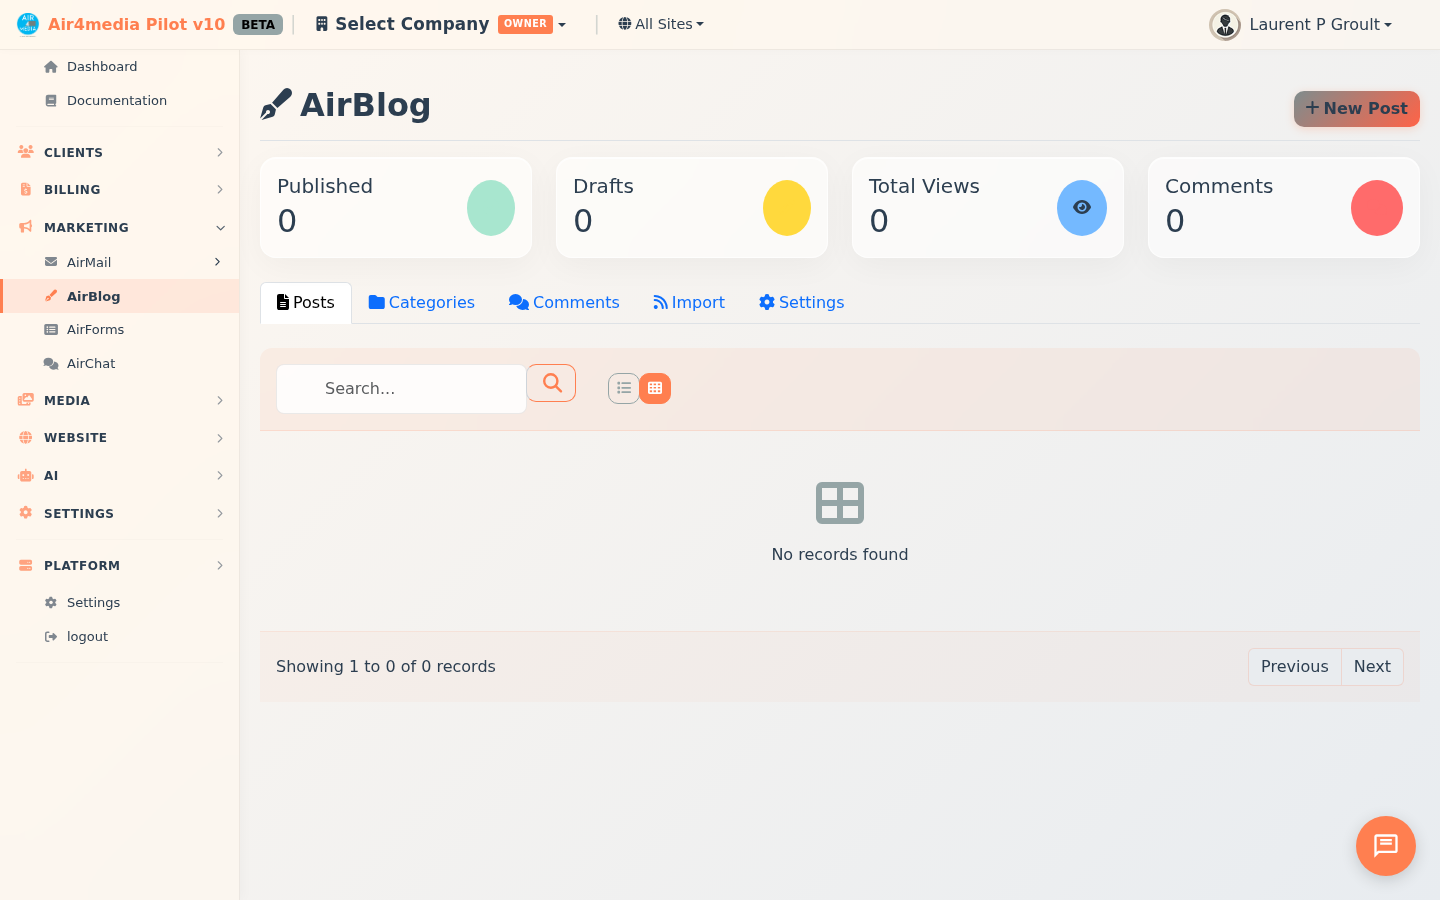
AirBlog is Pilot's built-in blog engine. Create, manage, and publish blog posts with a full-featured editor, category organization, reader comments, and RSS feeds.
Key Features
- Post Editor: Rich text editor with formatting, media embedding, live reading time, and auto-generated URL slugs. Preview posts on the live site before publishing.
- Publishing Controls: Draft, publish, schedule, or archive posts. Mark as featured or sticky. Set visibility to public, password-protected, or private.
- Categories: Color-coded, icon-tagged categories with parent/child nesting. Posts can belong to multiple categories.
- Tags: Free-form tags with bulk management — rename, merge, or delete tags across all posts from the Tags tab.
- Comments: Threaded comments with replies. Rate limiting and honeypot spam protection built in. Moderation modes: approve-after-first-comment or manual. Moderators can approve, spam-flag, trash, reply, or pin comments individually or in bulk. Readers can like comments and opt in to email notifications when someone replies to them.
- Media Library: Browse and insert images or videos from your Assets Manager as inline content or featured images. Drag-and-drop upload directly into the editor.
- SEO Fields: Meta title (60 chars), meta description (155 chars), keywords, canonical URL, schema type, and robots settings with live character count guidance.
- RSS Import: Pull posts from external feeds at hourly, 6h, 12h, or daily intervals. Preview items before importing; auto-download images. Duplicate detection skips already-imported items.
- AI Assistant: Generate articles, outlines, title ideas, excerpts, or improve existing content. Create images with DALL-E. Choose tone (Professional, Casual, Friendly, Authoritative, Humorous) and length.
- Blog Settings: Configure posts per page, choose a theme and design preset, and toggle display options — sidebar, author info, reading time, social share buttons, related posts, and search.
- Dashboard Stats: Published posts, drafts, total views, and pending comments at a glance.
How to Use
- Open AirBlog from the sidebar and select a site from the top filter.
- Click New Post. Enter a title — the URL slug fills in automatically.
- Write in the editor, format text, and insert media from your library. Toggle between card and list view to browse existing posts.
- In the right panel, set categories, tags, featured image, and visibility.
- Expand SEO to add meta title and description, or use the AI wand to generate them automatically.
- Click Save Draft or Publish. Use Schedule to set a future publish date.
- Manage comments in the Comments tab — filter by Pending, Approved, Spam, or Trash, then approve, reply, spam, or delete individually or in bulk.
- To import content, go to RSS Import, add a feed URL, set the fetch interval, and click Fetch Now to preview before importing.
Tips
- Use the AI Assistant (wand icon in the editor) to draft articles, improve existing content, generate title ideas, or create images — then edit to match your voice.
- Set comment moderation to "First" in Blog Settings to auto-approve returning readers while still screening new ones.
- Batch actions let you publish, unpublish, duplicate, or delete multiple posts at once from the post list.
- Sticky posts always appear at the top of your blog listing regardless of publish date.
- Use Merge Tags to consolidate duplicate tags across all posts in one step.
- Pin a comment to keep it at the top of the thread — useful for highlighting a helpful reader question or a key reply.